2nd Stage - Installing the tank stand

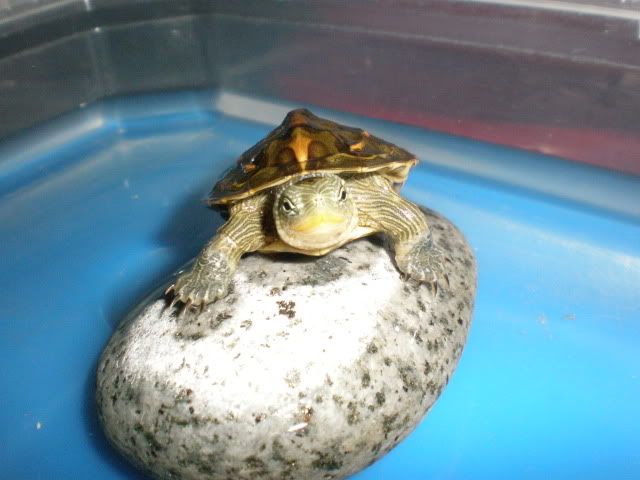
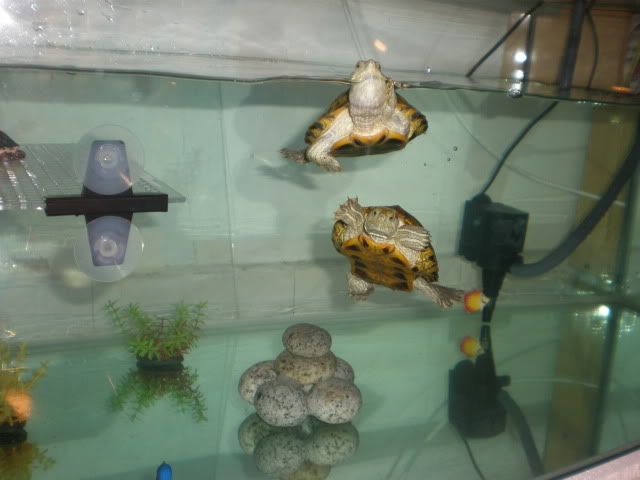
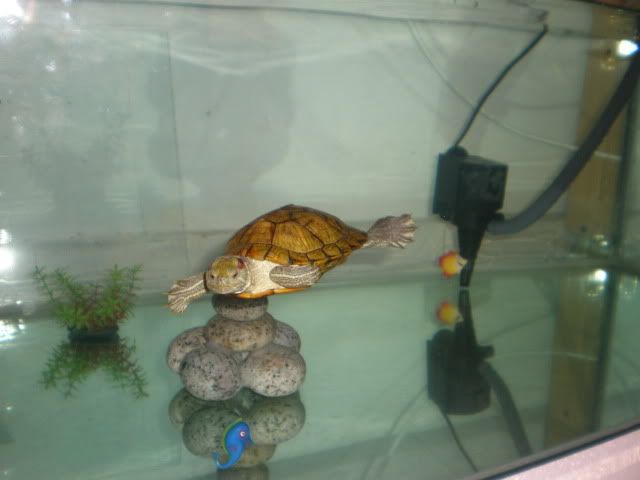
Whooaa~!! Its been like a month I didn't update anything about my turtles, their habitats and everything.. and within a month there so many things I need to do.. working, celebrating Eidulfitri, shopping, eating, cleaning my turtles' tank, sleeping, eating and and and list go on.. ehehe.. But anything to my turtle will be my number one priority :)

After do some plan for the tank stand, I went for shopping some stuff.. actually I just buy the blocks.. ehee... cost about RM13.00 for 12 blocks. All other things are Free Of Charge taken from house store and I used everything dat I can used such old piece of carpet, thick plywood and table clothes.

Here step by step how I installed the tank stand:


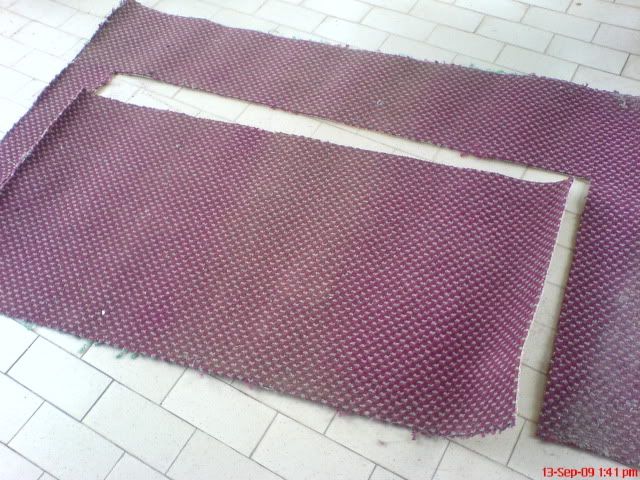
1. This is the old carpet which my mum didn't use it anymore. I cut it into small size because I don't need it all. I used this carpet just to layer on the floor so the tiles won't scratch before putting the blocks.


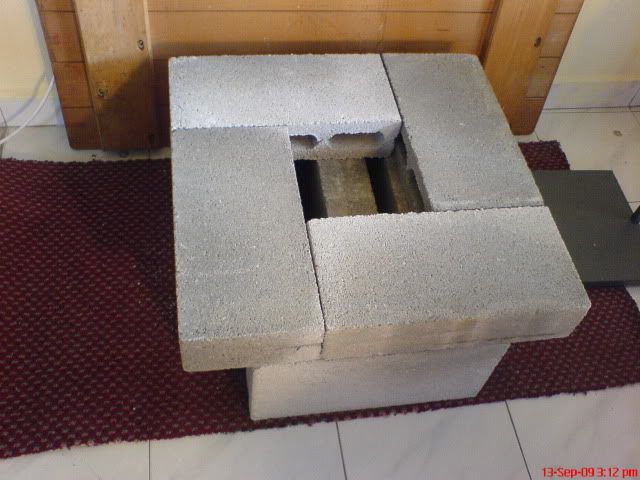
2. Then I arrange the blocks like in picture above, with help from my mum ;) because she knows better how to make the blocks steady and balance in order to make sure the stand can hold the 90 gallon water.


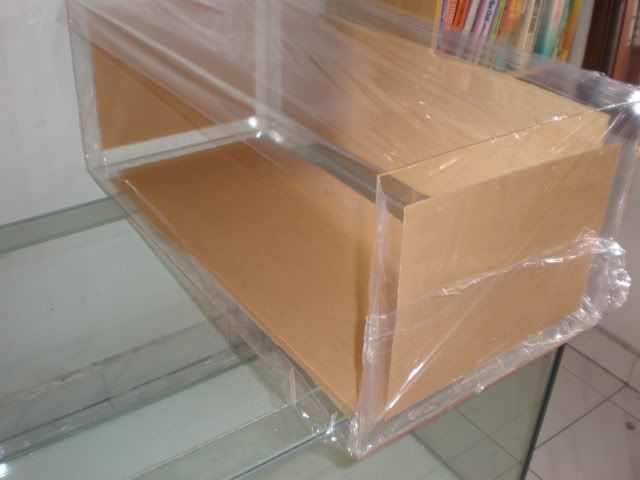
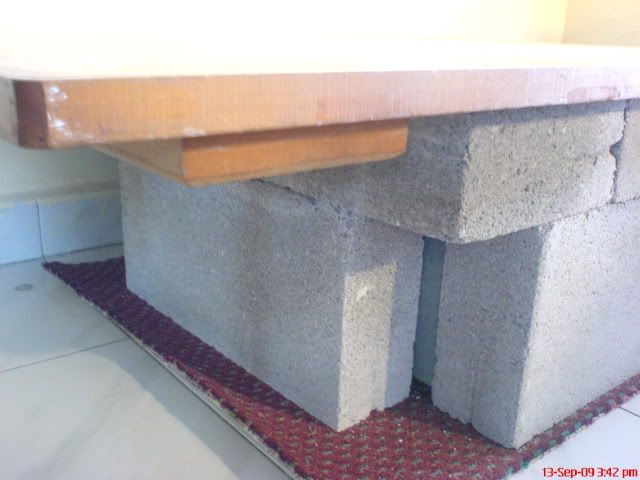
3. Then I put the thick wood as for base.


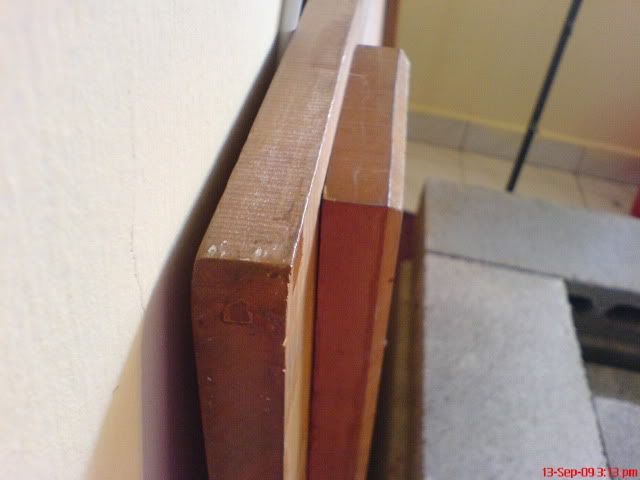
I hope this thick should be enough to cover the tank weight.
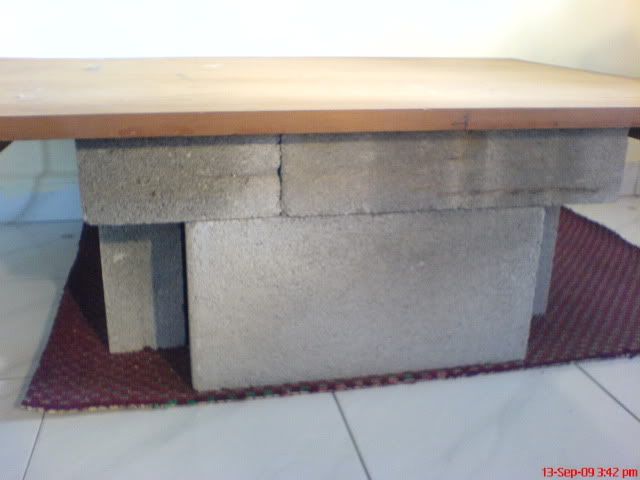
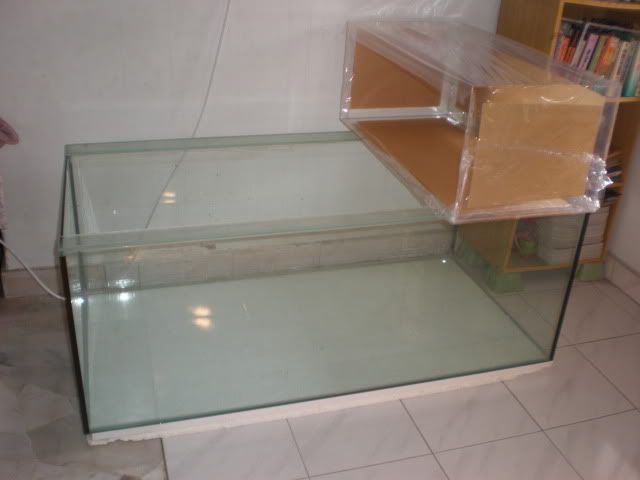

Overall look

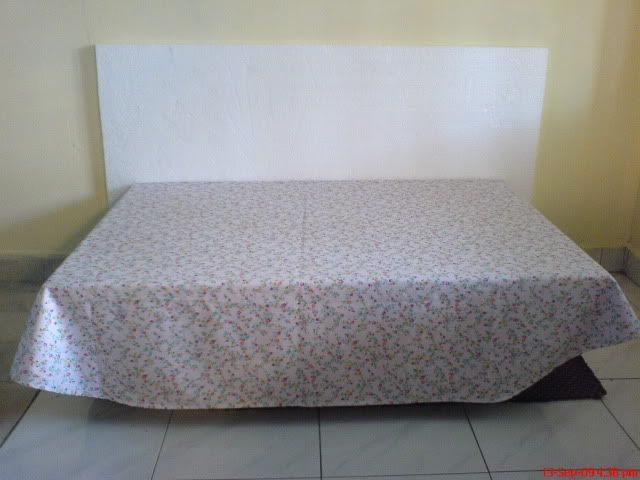
4. Then I put a table clothes, English rose design. Its belong to my mum ;)

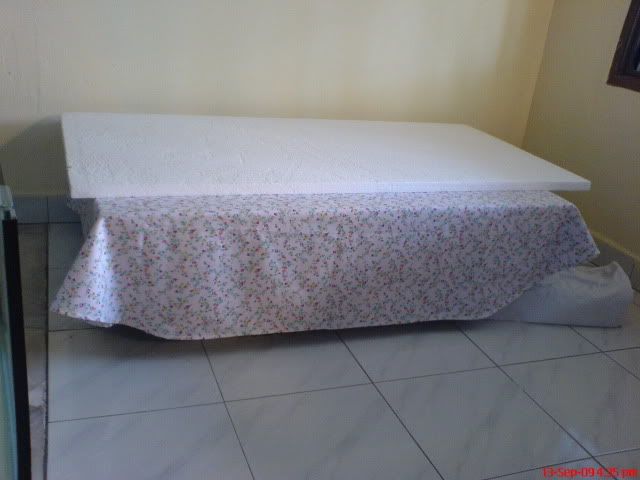
5. Then I put 2 pieces layer of styrofoam

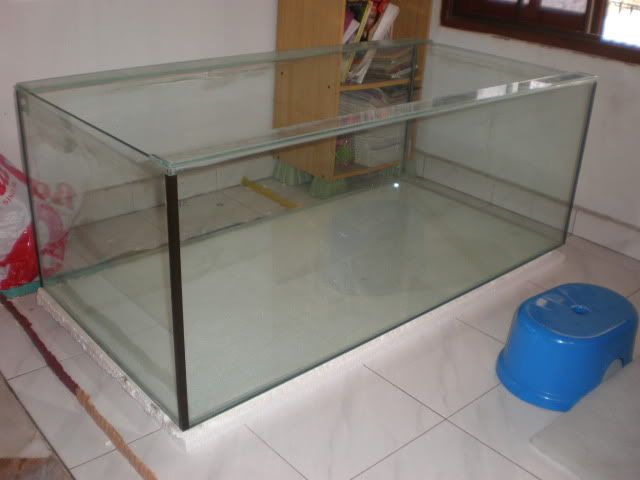
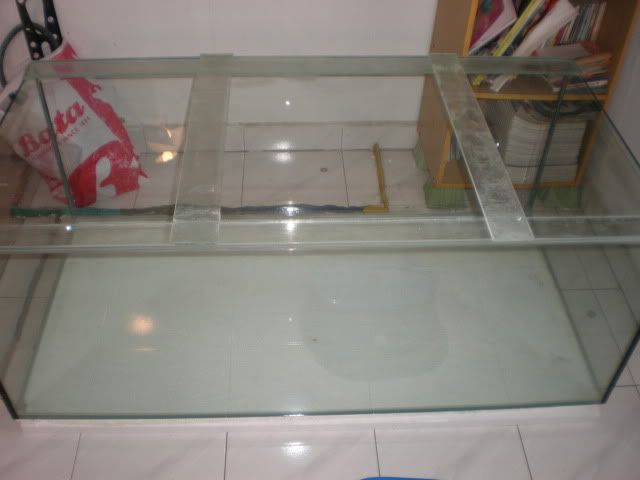
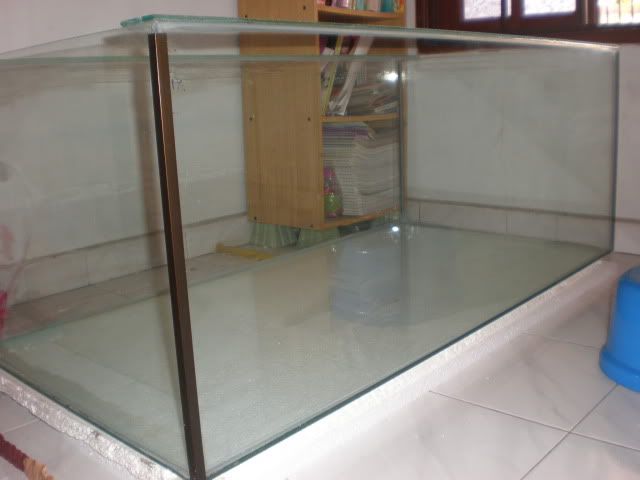
TADAAA~~!!! the end product.
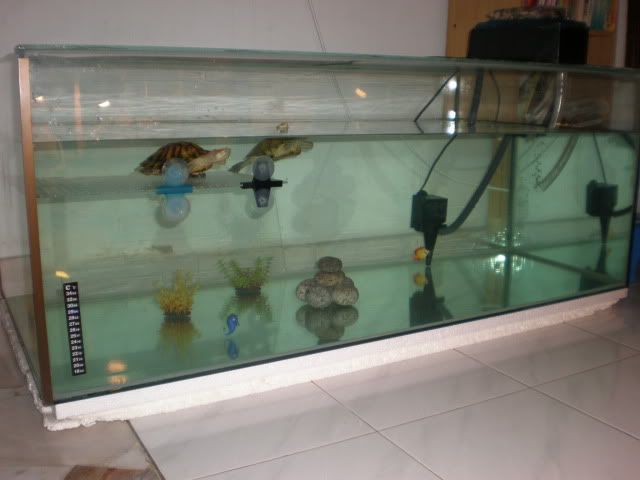
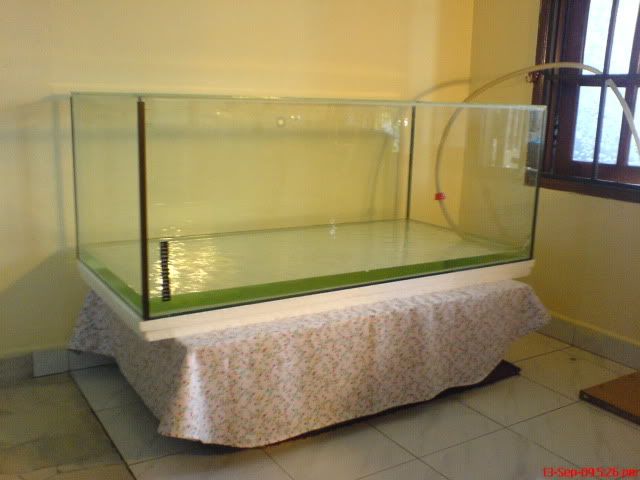
Its time to fill the water~!

Will be continue at next post... don't missed it~! There will be alot lot of photos.. huhuhu!!


2nd Stage - DIY Tank Stand

Its been a month after my turtles moved into their 90 gallon tank. The basking area is 80% ready, all lighting is provided and filter are doing great job.. so far. Here the second major stage I wanna do is make a stand for the tank.

Since I don't have so much money to buy ready made cabinet or steel stand.. so I check out some other small budget idea for tank stand. I don't want to put the tank at high level because sometimes or I always wanted to play with my turtles.. So I need an average level to accomodate my height.. hihi.. what I do is, I bought 12 cinder blocks today~! The cinder block size is 16 inch length, 8 inch height and 4 inch width or thick. I think 8 inch tall to put the tank is quite ok.

Tomorrow I'm gonna empty the tank and start to arrange the blocks for a stand, I also buy a new thick styrofoam as a layer to hold and distributed equal weight of tank. The foam will be on a thick plywood which I think 2 inch thick.

Pictures of my turtles~!

Latest photos of all my turtles.. 2 Red Ear Sliders, Malayan Box Turtle, 2 Yellow Bellied Sliders and Chinese Golden Thread Turtle.. I have 6 (SIX) turtles! =P


My Cutest Red Ear Sliders

Riri and Kiki

Yellow, Riri & Kiki


Kiki


Kiki


Malayan Box Turtle "Yellow"


Yellow Bellied Sliders - "Mojo" and No name yet =P


Mojo


Mojo


Chinese Golden Thread Turtle


Turtle Skin Problem - Fungus, Bacteria, Parasites, Skin Shedding??


I would like to share that, a month ago my Chinese Golden Thread Turtle (CGTT) had this skin problem. I don't know what is it and how it happen. Its looks like he having really heavy shedding but in the same time the legs and the other parts of body looks swollen.

I assumed this must be some sort of fungus or bad bacteria that infect my turtle. It could be from the water. Dirty water, wrong temperature can give this kind of symptom. But then, I'm using filter in his tank, so what could it be??


Poor baby, his face covered with the fungus. Give swollen looks =(

His leg show some swollen.

Based from my experienced dealing with this skin problem such white spots, fungus and injuries, the home remedy to cure this problem is by soaking the baby turtle in the Potassium Permanganate.

What is Potassium Permanganate?
Potassium Permanganate act as disintectant, used to treat dermatitis, fungal infections, killed bacteria and parasites of the hands or feet. By evaporation of Potassium Permanganate will gives prismatic purplish-black glistening crystals and it will dissolves in water to gives deep purple solutions.

So what I do is I mixed the crystal with warm water. Don't put too many, just few drops like 10 tiny crystal and gives very light purple solution. Then I soaked the baby turtle in potassium permanganate solution for 20 minutes, if I let the baby soak more than 20 minutes, the solutions will turn to brownish also to the turtles =P Don't worry, it won't harm the turtle but do keep on eye if the turtle started makes some bubbles from the nose.. Meaning dat they had enough.

I treated my baby turtle 2 times a day for a week.

Soaking the baby in potassium permanganate solution for 20 minutes.

After the soaking, I dry dock him under infrared bulb as to let him dry and kill whatever things covered his body.

Felt asleep while dry docking

After couple hours dry dock him, I place him in super clean warm water for drinking and feed him pellets as well.


2 Weeks After the treatment.

So far my baby looks much better, eat well and very active.


Basking area still under construction

I already make one but still not attach to the tank, as my mum idea.. she want the removable above tank basking area (ATBA).. that what she want, then I just followed.. hehehe.. so the basking area can be move anywhere or anytime whenever I need to clean the tank or change the water, so it will not give me obstruction.

This is customade ATBA which made from plastic or sometimes people call plexiglass. This plastic material quite expensive here.. 1 x 1 foot square size already cost me RM12 per piece. So imagine I have to spend 2.5 x 1.5 foot size with different thickness of the plastic. The floor is 6mm thick, the wall is 3mm thick. Total cost to make this ATBA is RM150 =P Anything for turtles~! its okay.. hihi


Still in plastic wrappers because I don't want the basking get dusty since the ATBA still not complete yet. I need to put the wallpaper to cover the wall of the basking area. This is because my turtles need privacy when they basking.. not to forget, there is not basking ramp, so still need some times to build it. hihi..

1st stage - Tank Setup

Finally.. my Kiki and Riri have their own bungalow.. yeay~!! It tooks me a month to make sure as theres no any chemical residue stick in the tank wall.. I did few times water change and let the water seats for 2 3 days as to absorb all the dirty stain, any chemical residue dat left by the clorox, soap or vinegar dat I used to clean the tank.

When I purchased this secondhand tank, the owner also give me a free set of filter. The filter is powerhead filter with the filteration media box and the hose. I never used this kind of filter, the owner said the filter still in good condition, since I'm still saving to get canister filter for my turtles, as for temporary.. why not I used this filter first. I'm not sure how many Gallon/Litre Per Hour this powerhead filter can run and circulate the water. But so far, it does a great job!

Here a photo of the new tank setup.. wa laaaa..~!


I didn't expect the tank will look this nice =)

Look with camera flash off..


Kiki and Riri so happy!! flying freely in the water~!

Isn't she look cute, adorable.. Riri

Update my new tank

It tooks me a week to clean the whole tank.. First I clean the tank with water to remove all the dust and dirt, second I used 50/50 Clorox and water solution to remove the smell and water stains. Thirdly I used vinegar to remove all the stubborn water stains.. and lastly I cleaned the whole tank with clean water for many times.

BEFORE


...AFTER


Kiki and Riri were survey their new home as to decide where to put the master swimmingroom.

Still need to clean the tank again and again with clean water, to make sure all the chemical residue are not in the tank. I will buy small fishs to test the water in the tank.

Cute Moments...


My Florida Yellow Bellied Sliders...


My Red Ear Slider.. Kiki and Riri


. This is my Golden Thread Turtle..